For turkish translation;
Zero downtime ile Deployment: Azure DevOps Deployment Slots Kullanarak Azure App Service Deployment işlemiAchieving Zero Downtime: Azure App Service Deployment using Azure DevOps and Deployment Slots
Hello! When deploying our application, which runs as a single instance in Azure App Service, using Azure DevOps pipelines, there will most likely be a few seconds of downtime. Because the application running as a single instance will need to be restarted to update it with a new version. In a worst case scenario, if an error occurs in the transition of our application versions, downtime will be extended due to rollback.
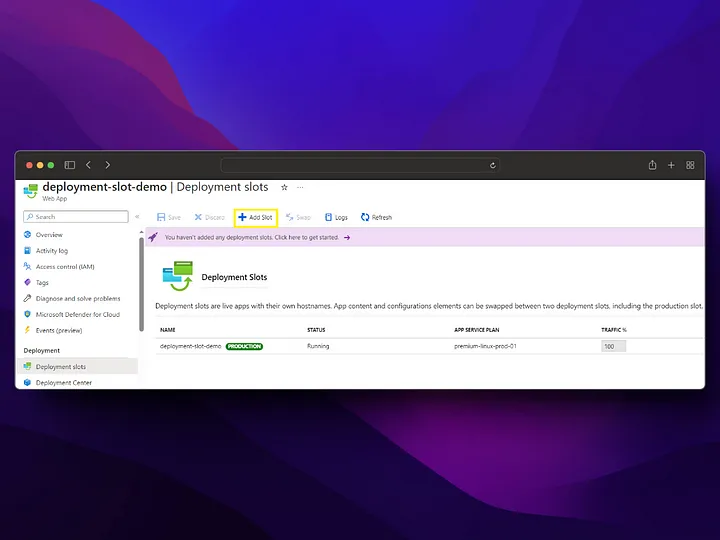
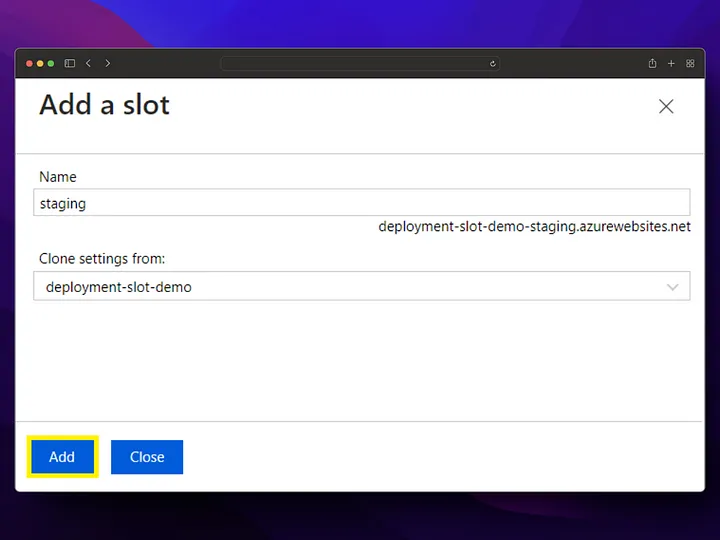
We can use the deployment slots feature to solve this problem specifically for the app service. With this feature, 2 different instances, usually staging and production applications, are running in a single app service plan as a separate instances, and when switching to production, the swap operation is managed by the app service and no downtime is experienced.
In this post, we will create a very simple Dotnet Web API project, host it in the Azure DevOps repository, deploy it to Azure App Service by creating a CI/CD pipeline with the Azure DevOps pipeline, and perform zero downtime deployment with the deployment slots feature. We will complete the entire process in 5 steps as follows. Let’s begin.
- Creating the application
- Azure DevOps Repo
- Azure DevOps build pipeline
- Azure App service
- Zero downtime testing
## Creating the application
We create a simple Dotnet Web API project to deploy. To do this, we create our project with the following commands.
mkdir backend
cd ./backend
dotnet new sln -n Slot
dotnet new webapi -n Slot.API
dotnet sln add ./Slot.API/
We update the profiles.http property in the properties/launchSetting.json file as follows. Here we only updated the applicationUrl and launchBrowser properties.
// ...
  "profiles": {
    "http": {
      "commandName": "Project",
      "dotnetRunMessages": true,
      "launchBrowser": false,
      "launchUrl": "swagger",
      "applicationUrl": "http://localhost:5050",
      "environmentVariables": {
        "ASPNETCORE_ENVIRONMENT": "Development"
      }
    },
// ...
By making the following update on Program.cs, we will test that the application is accessible and can meet the requests made to the /health endpoint. If you are using a database in your application, you can also test whether there is a problem accessing the database with AddDbContextCheck method.
var builder = WebApplication.CreateBuilder(args);

// ...

builder.Services.AddHealthChecks();

var app = builder.Build();

// ...

// app.UseHttpsRedirection();

app.MapControllers();

app.UseHealthChecks("/health");

app.Run();
That’s it for our application! Now we can access the localhost:5050/health endpoint by running
cd ./Slot.API
dotnet run
curl -4 http://localhost:5050/health
# Healthy
Later, we will use Docker to deploy our application, so we put our Dockerfile file in the same directory as our sln file.
# Build Stage
FROM mcr.microsoft.com/dotnet/aspnet:7.0-alpine AS base
WORKDIR /app
EXPOSE 8080


# Publish Stage
FROM mcr.microsoft.com/dotnet/sdk:7.0-alpine AS build
COPY ["Slot.API/Slot.API.csproj", "Slot.API/"]
RUN dotnet restore "Slot.API/Slot.API.csproj"
COPY . .
WORKDIR "/Slot.API"
RUN dotnet build "Slot.API.csproj" -c Release -o /app/build

FROM build AS publish
RUN dotnet publish "Slot.API.csproj" -c Release -o /app/publish /p:UseAppHost=false

FROM base AS final
WORKDIR /app
COPY --from=publish /app/publish .
ENV ASPNETCORE_URLS=http://*:8080
ENV ASPNETCORE_ENVIRONMENT=Production
ENTRYPOINT ["dotnet", "Slot.API.dll"]
We can use the following two commands to ensure that we can successfully build the image and run the container.
docker build -t deployment-slots-demo .
docker run -it -p 80:8080 deployment-slots-demo -n deployment-slots-demo-container
Verify that the application is up⌗
After creating our application with the health check feature in the previous step, we can verify that the application is accessible by making a request to this endpoint every second. This way, we will verify that it is accessible when deployed to Azure.
In this section, we will write a simple Node.js script to verify that the application can be accessed by making requests every second. We use the following commands for this.
mkdir health-check
npm init -y
touch index.js
npm install node-fetch
We add the following script to the package.json file.
// ...
"scripts": {
  "start": "node index.js"
},
"type": "module",
// ...
We can create our index.js file as follows. With this code, we will make a request to the given url every 50 milisecond and write the response to the console.
import fetch from "node-fetch";

const check = async (url) => {
  try {
    const response = await fetch(url, {
      method: "GET",
    });
    const result = await response.text();

    if (result !== "Healthy") {
      console.log(`${new Date().toISOString()}, ${url} result is not OK`);
    }
  } catch (error) {
    console.log(`${new Date().toISOString()}, ${url} error is ${error.message}`);
  }
};

(() => {
  setInterval(() => {
    check("http://localhost:5050/health");
  }, 50);
  setInterval(() => {
    check("http://localhost:5050/health");
  }, 50);
})();
If you do not turn off the UseHttpsRedirection middleware in our API project, you may receive an invalid SSL certificate error. You can fix this as follows.
import fetch from "node-fetch";
import https from "https";

const httpsAgent = new https.Agent({
  rejectUnauthorized: false,
});

const check = async (url) => {
  try {
    const response = await fetch(url, {
      method: "GET",
      agent: httpsAgent,
    });
    const result = await response.text();

    if (result !== "Healthy") {
      console.log(`${new Date().toISOString()}, ${url} result is not OK`);
    }
  } catch (error) {
    console.log(`${new Date().toISOString()}, ${url} error is ${error.message}`);
  }
};

(() => {
  setInterval(() => {
    check("https://localhost:5051/health");
  }, 50);
  setInterval(() => {
    check("https://localhost:5051/health");
  }, 50);
})();
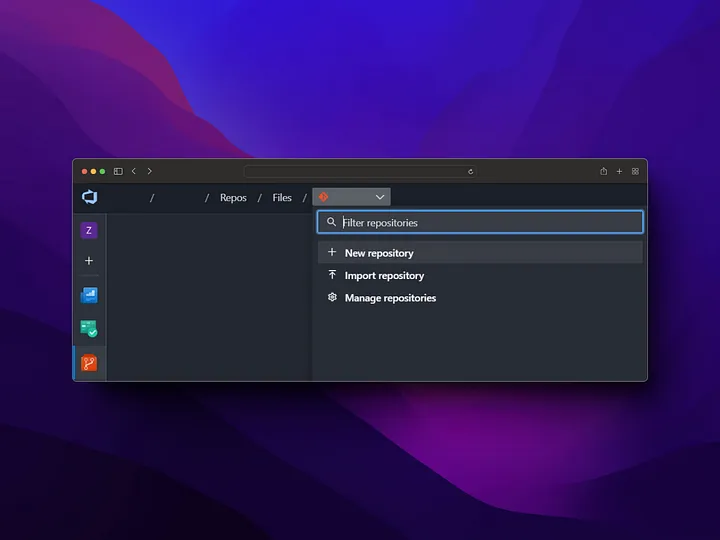
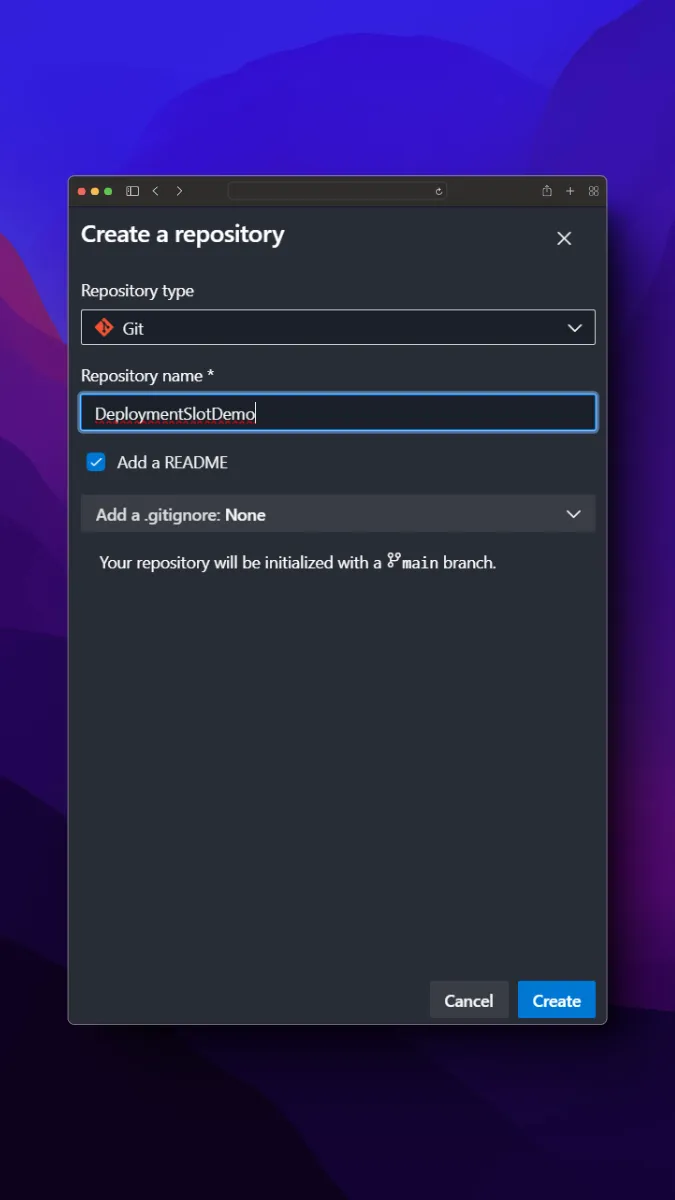
Azure DevOps Repo⌗
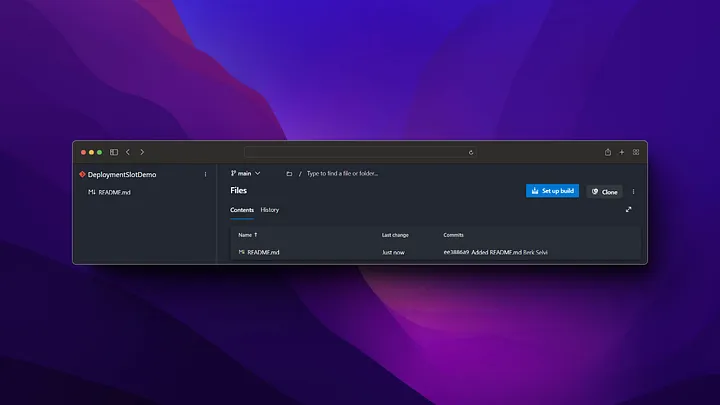
We log into our Azure DevOps account and create a new repo as follows.
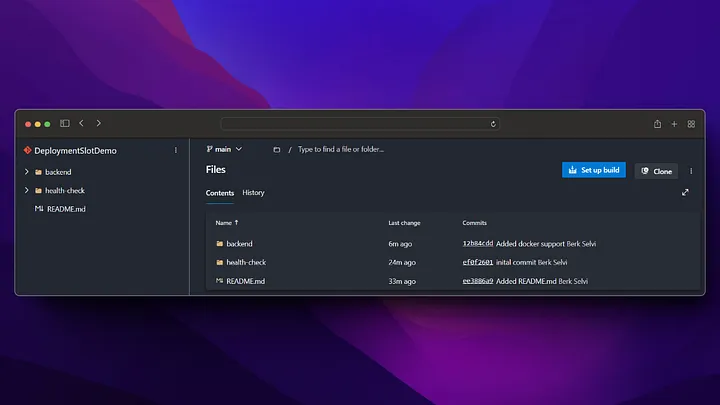
We will clone this repo to our computer, move the code that we write into this repo folder and push the codes to origin.
git add .
git commit -m "inital commit"
git push origin
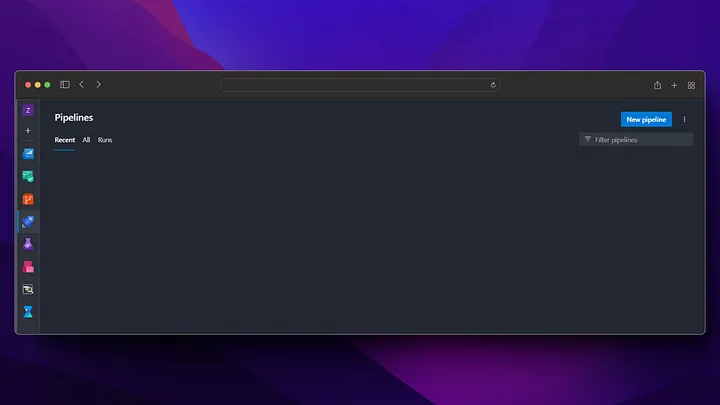
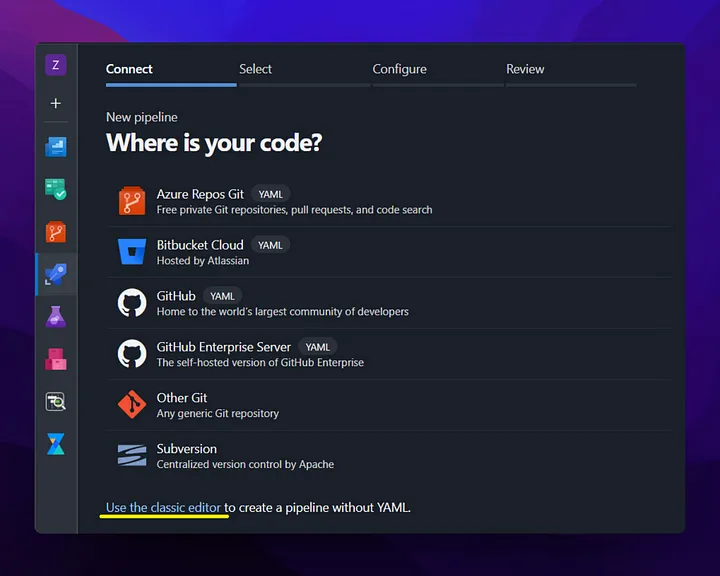
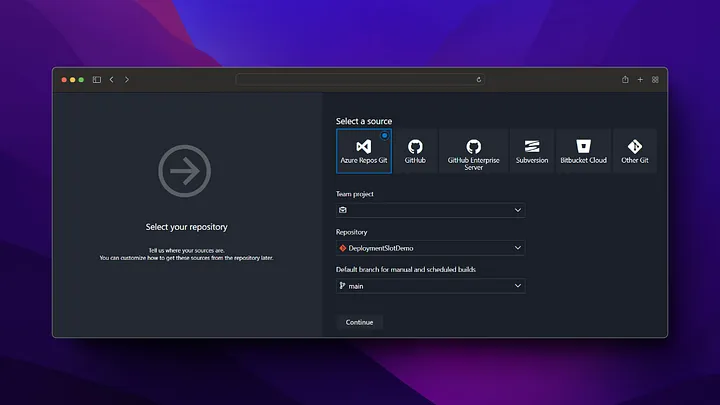
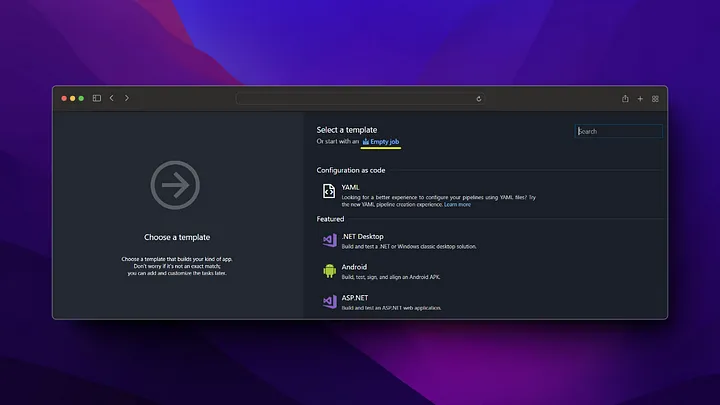
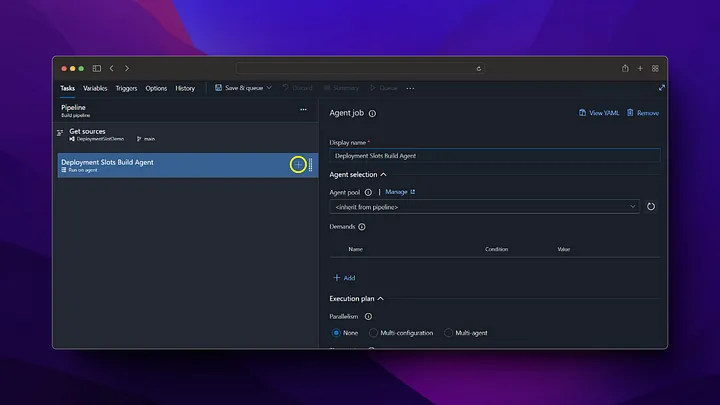
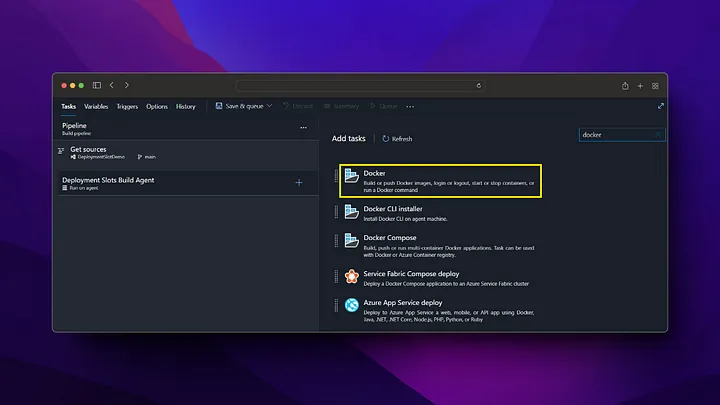
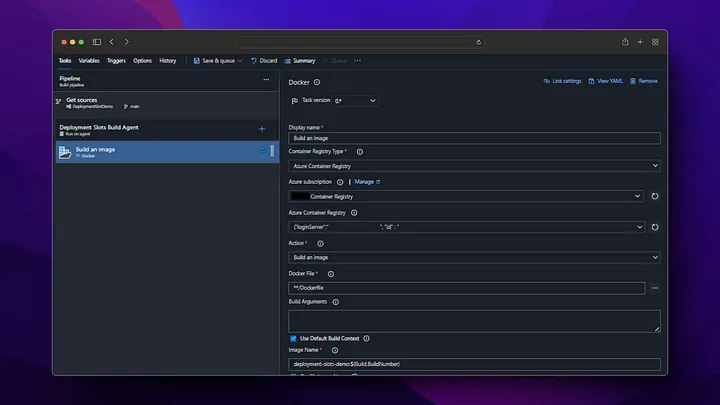
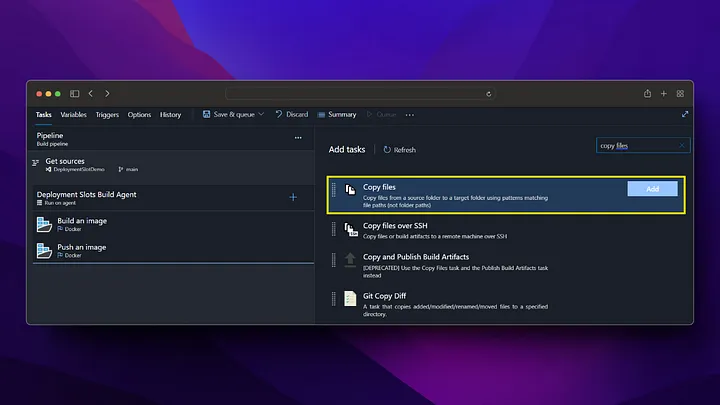
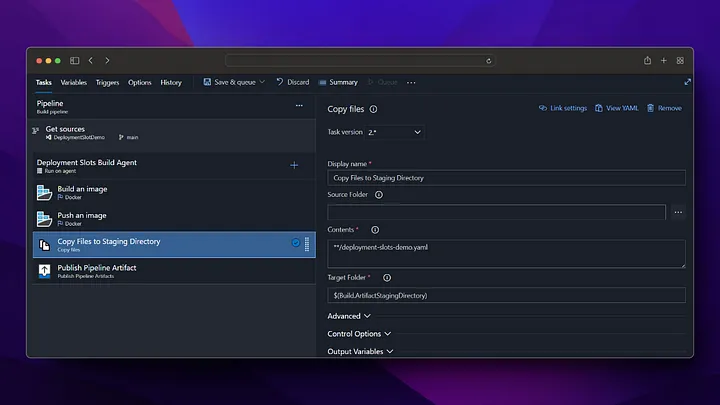
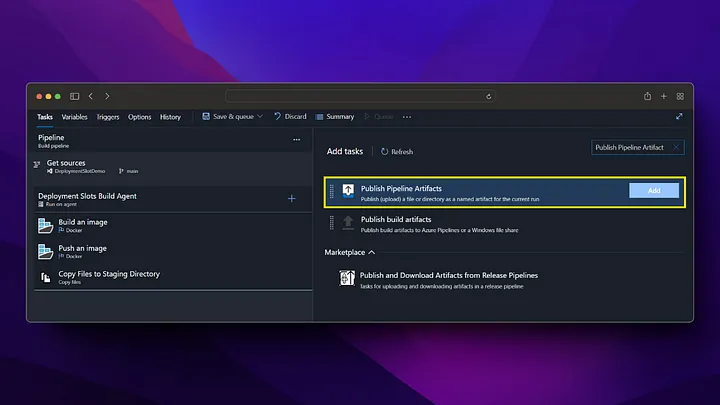
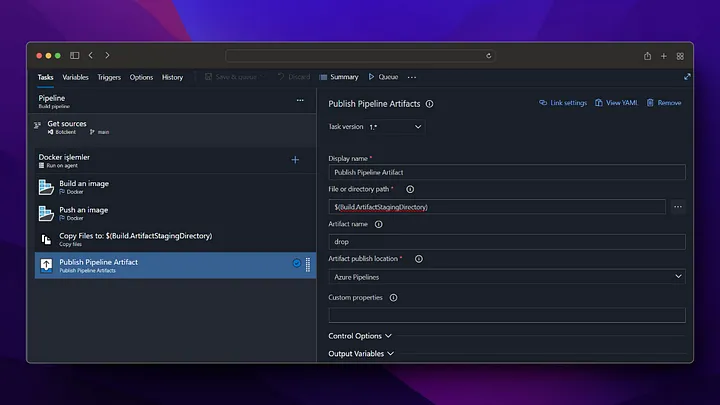
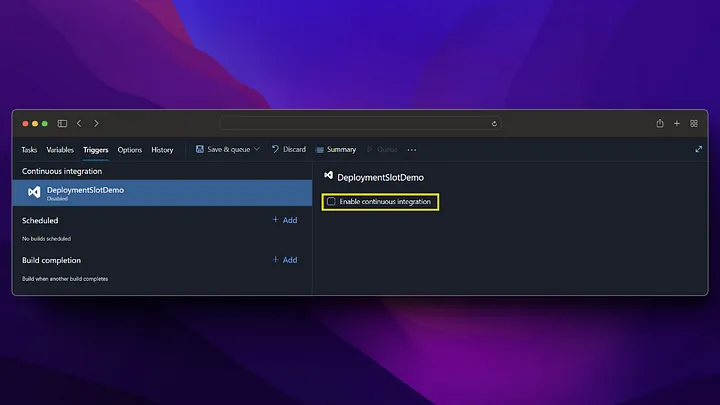
Azure DevOps build pipeline⌗
On the Pipeline screen, we click on the New pipeline button from the top right. Then, we build the docker file and push it to Azure Container Registry by following the steps below.
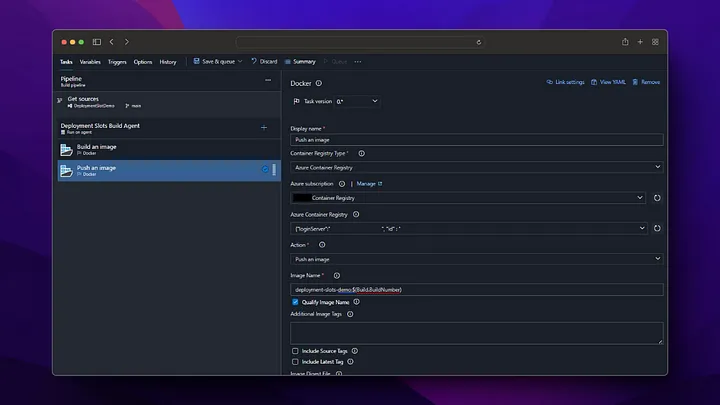
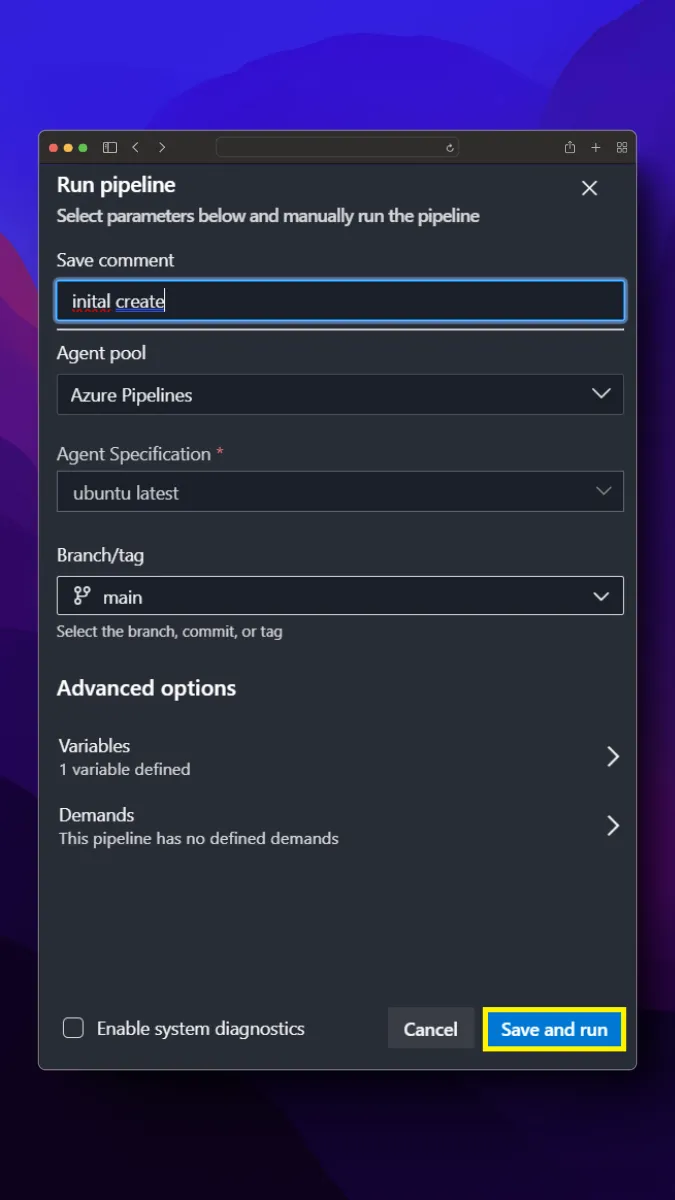
Now we check that our image deployment in Azure Container Registry is successful.

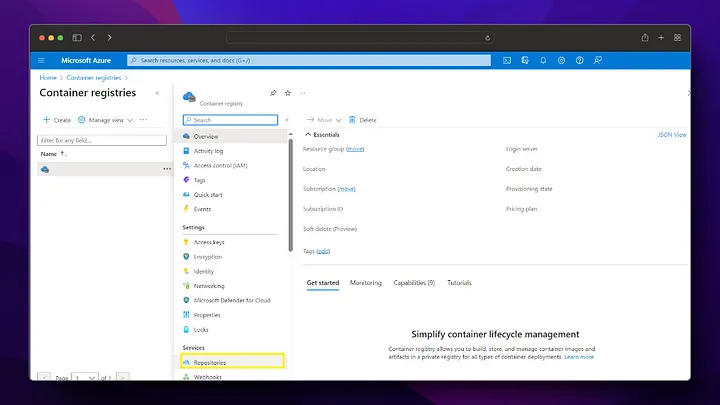
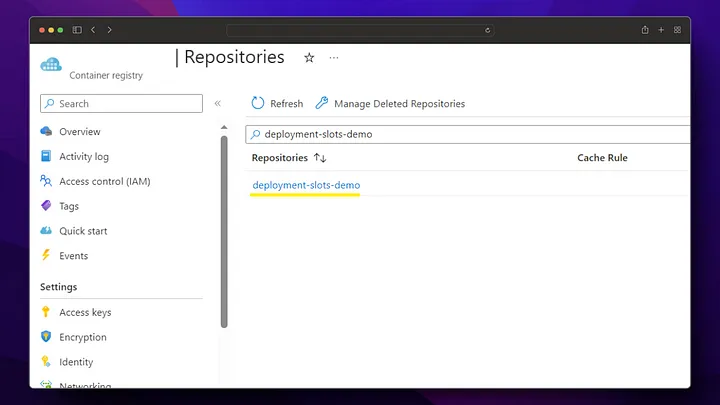
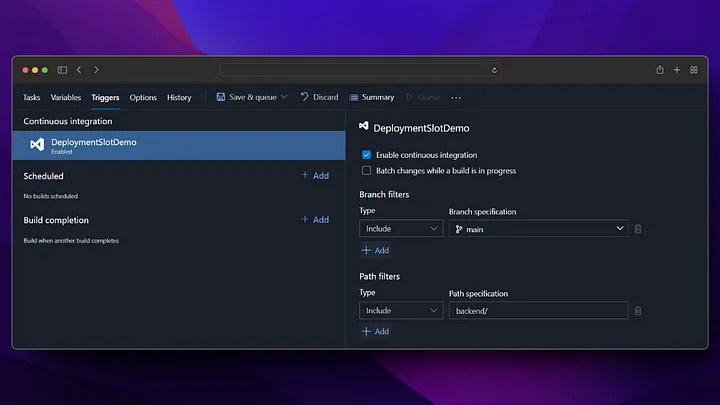
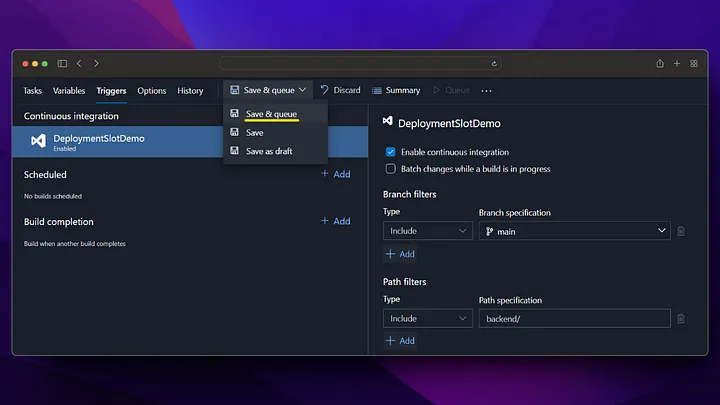
As we can see, when the pipeline is run, the docker image has been successfully created in the Azure Container Registry and is waiting to be used. After these settings, a new docker image will be created by triggering every change made in the /backend directory on the main branch.
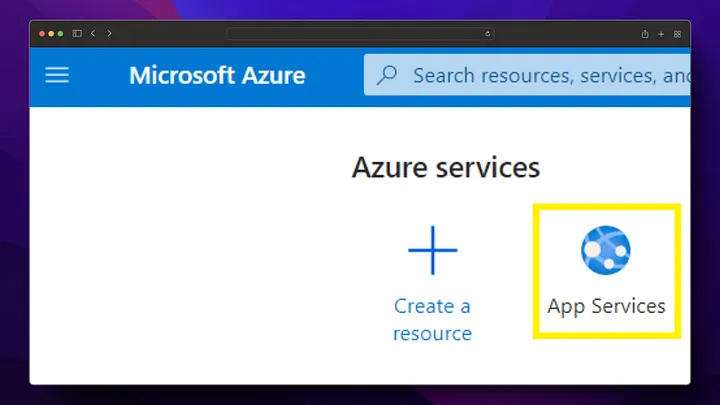
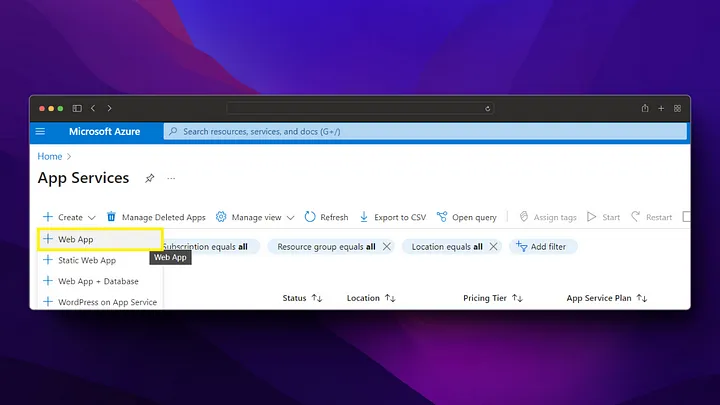
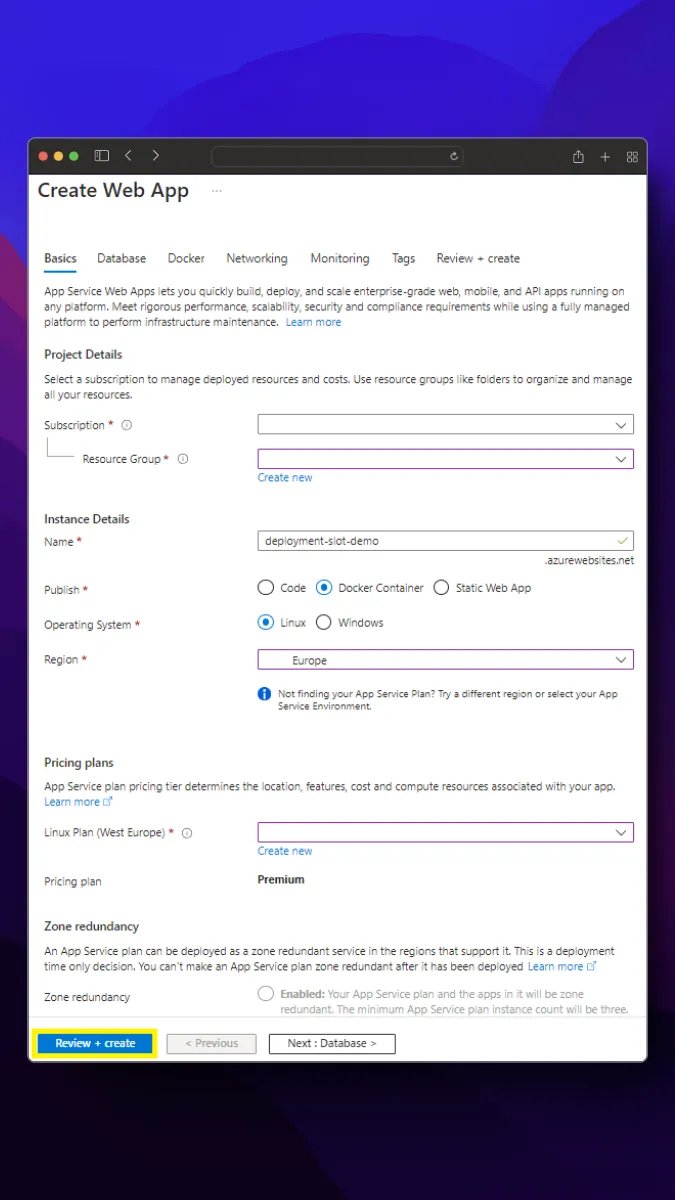
Azure App service⌗
Azure App service allows us to deploy web applications with security, load balancing, autoscaling managed by Azure itself. We can create a new app service via the Azure app services screen as follows.
After creating the app service, you may need to update the Container Registry password from the configuration tab.
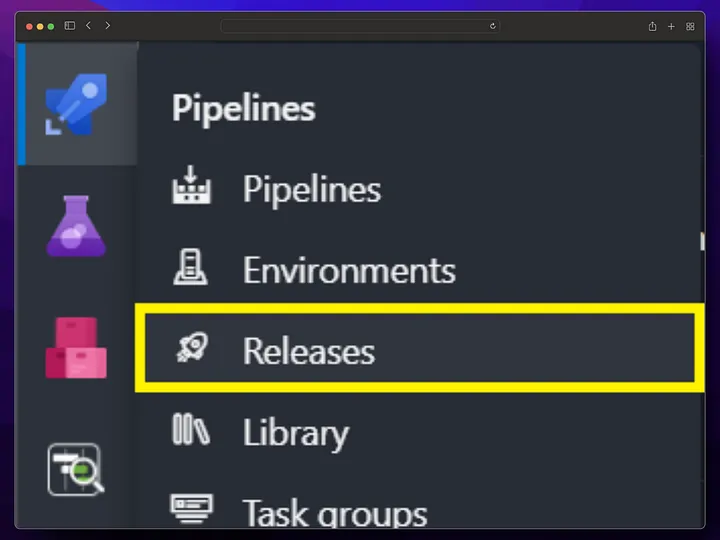
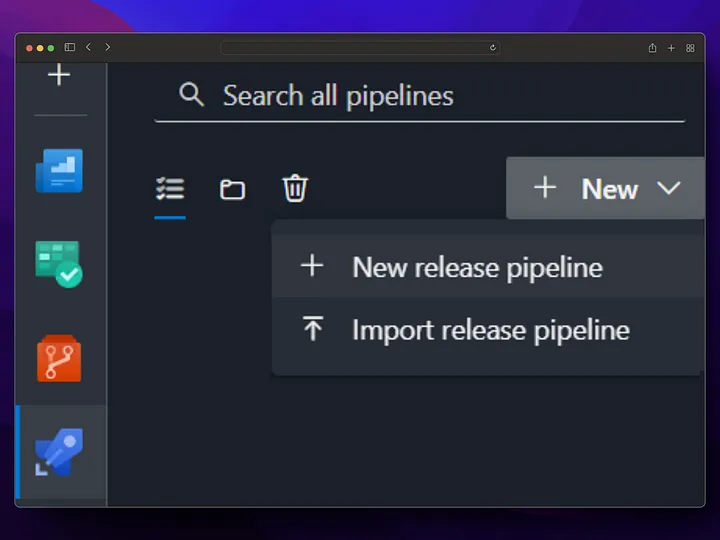
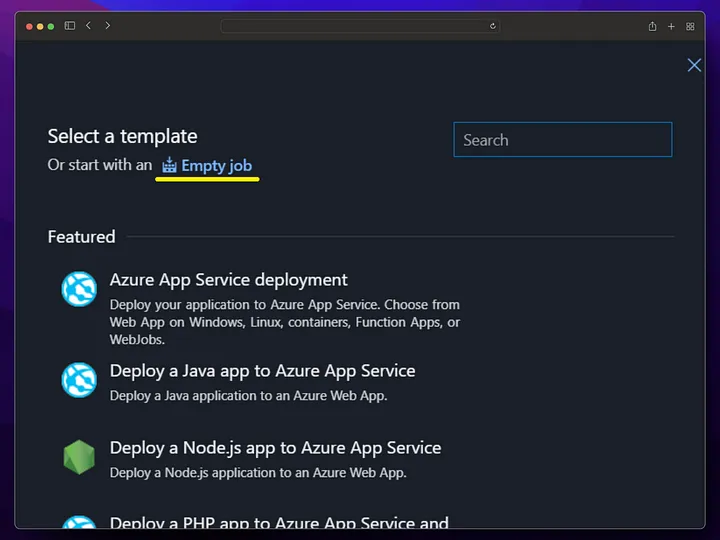
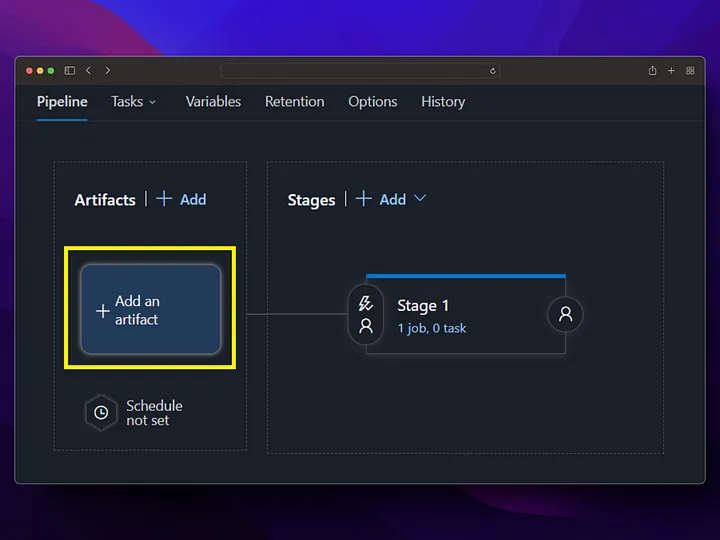
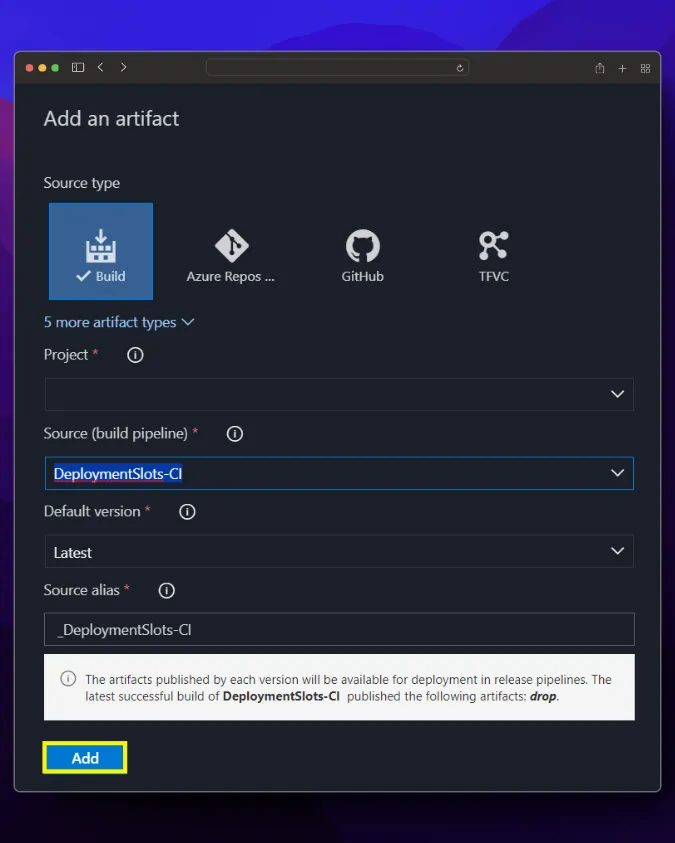
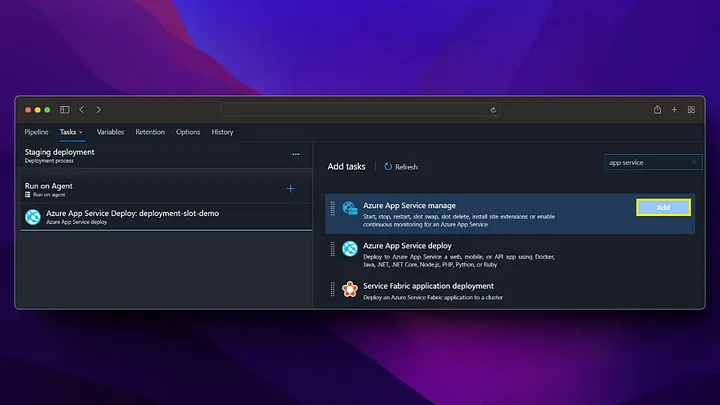
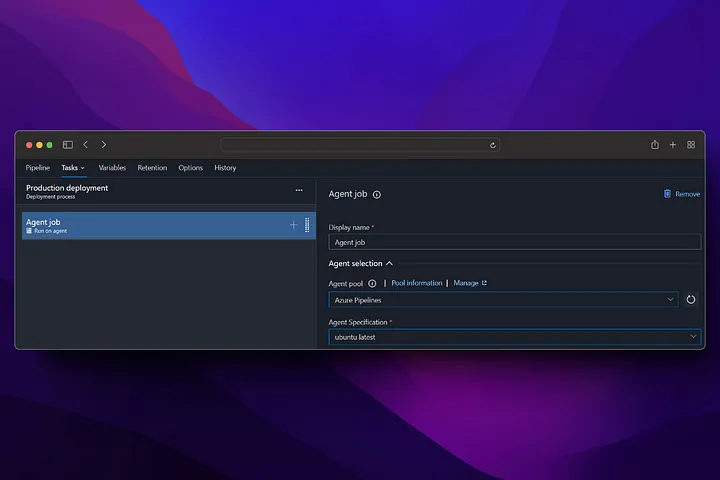
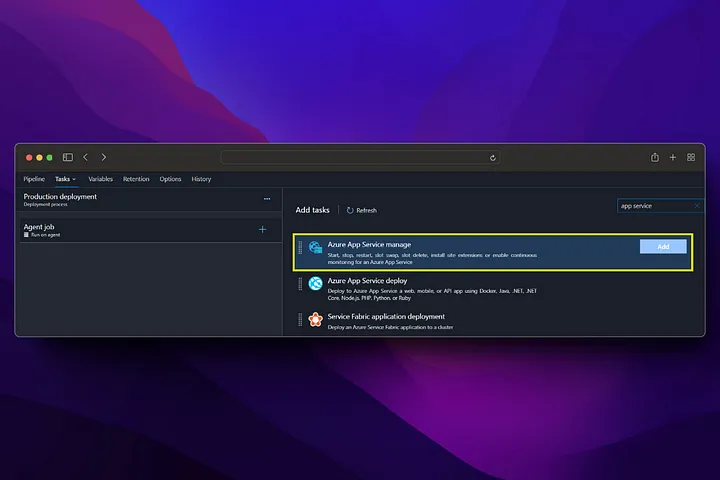
## Azure DevOps release pipeline
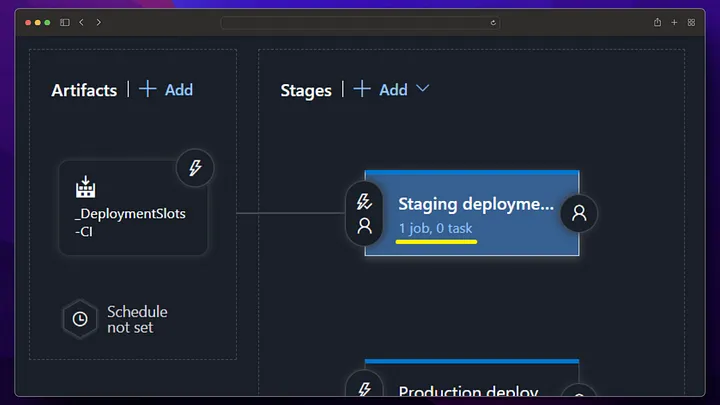
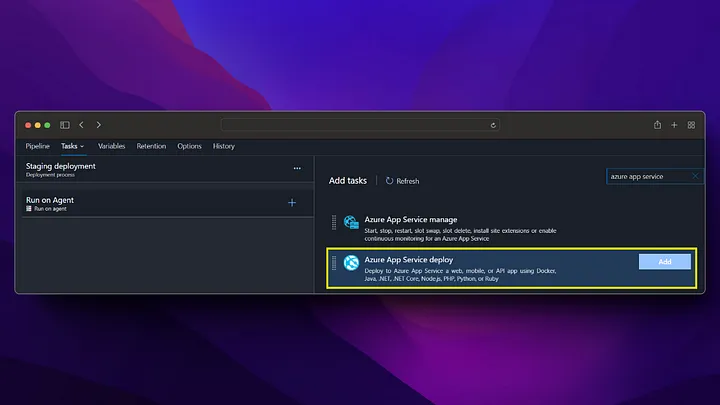
With the release pipeline, we deploy to the App service using the Docker image produced by the build pipeline and publish our application.
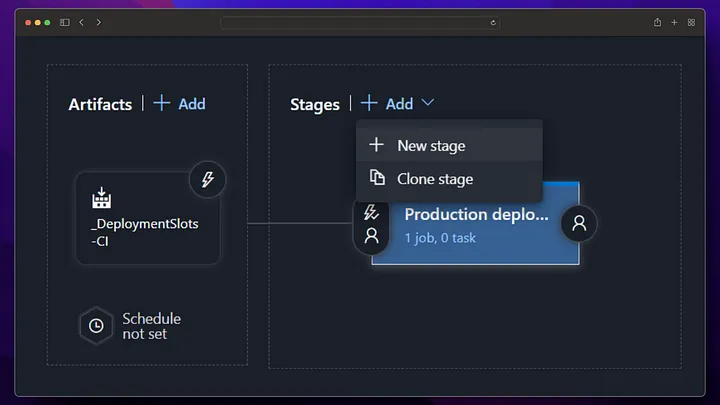
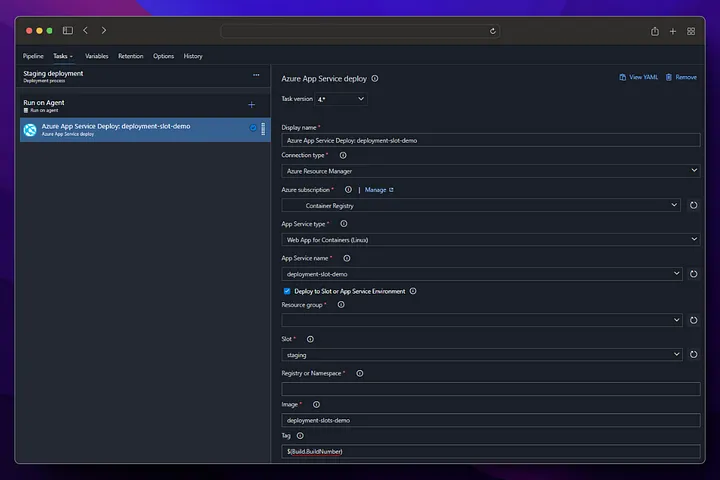
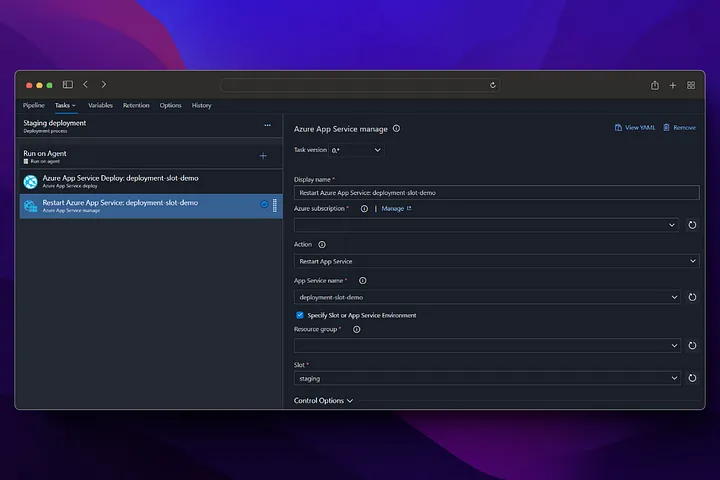
By going into staging deployment, we get deployment for our staging version and restart our app service to ensure that the docker image change we made goes live.

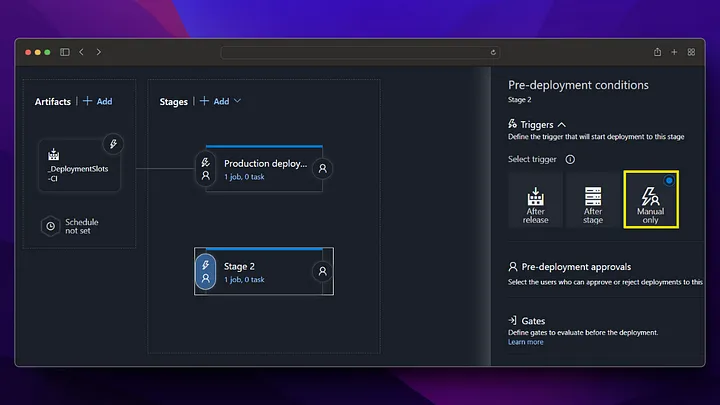
In our production step, we do not take a deployment to the app service, instead we perform the swap operation with staging and in this way, we start running our application running in staging in production without experiencing any downtime.
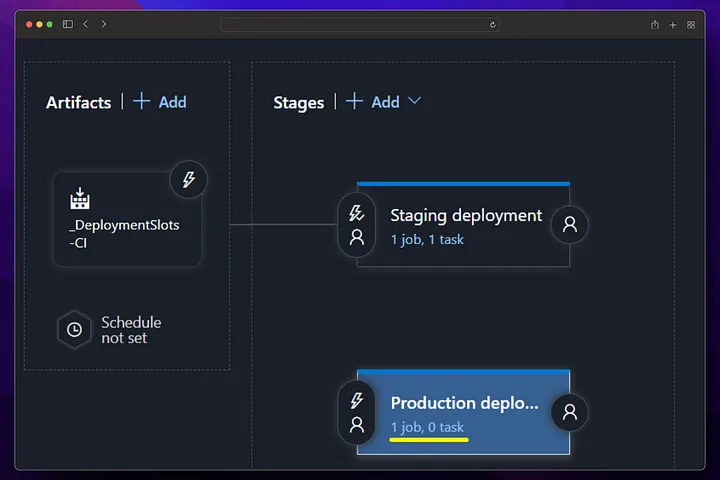
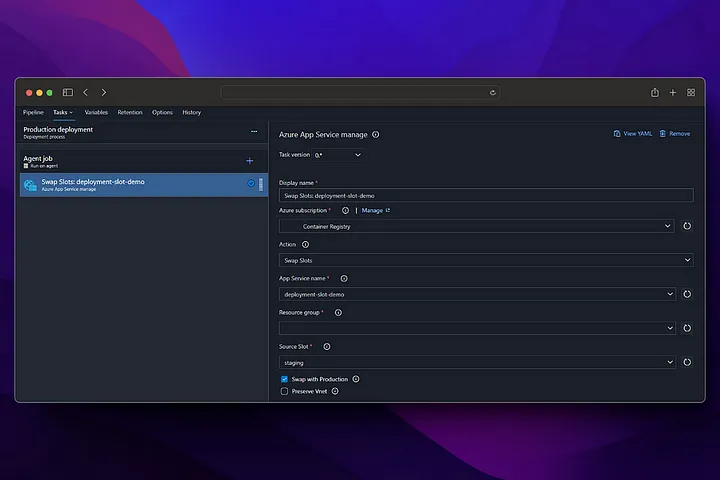
From now on, any changes made to the main branch will first run the build pipeline (CI), then the deployment pipeline (CD), and deployment will be made to the staging environment. If you want to switch to Production, Production deployment must be triggered manually from the release screen.

Zero downtime testing⌗
We have successfully created a pipeline for our application, from now on we will need to test whether there is any downtime during deployment. For this, I update our health-check/index.js file as follows and run the application with the npm run start command and trigger the pipeline. And then I complete the deployment process without receiving any error messages on the console, that is, without any downtime!
import fetch from "node-fetch";

const check = async (url) => {
  try {
    const response = await fetch(url, {
      method: "GET",
    });
    const result = await response.text();

    if (result !== "Healthy") {
      console.log(`${new Date().toISOString()}, ${url} result is not OK`);
    }
  } catch (error) {
    console.log(`${new Date().toISOString()}, ${url} error is ${error.message}`);
  }
};

(() => {
  setInterval(() => {
    check("https://deployment-slot-demo.azurewebsites.net/health");
  }, 50);
  setInterval(() => {
    check("https://deployment-slot-demo-staging.azurewebsites.net/health");
  }, 50);
})();
If we try a similar process in an app service deployment that does not implement deployment slots, we will receive an error as follows.
2023-11-14T12:28:39.506Z, [some-url]/health error is request to [some-url]/health failed, reason: connect ETIMEDOUT 100.100.100.100:443
Conclusion⌗
Thank you for reading! 🎉 In order not to miss my research in the field of software development, you can follow me at @berkslv.